Journeys are automated sequences of actions (including messages) in Iterable. They’re a key component to creating a personalized, responsive experience for your users based on their unique attributes and behavior. Journeys can get very complex, and, therefore, it’s important to review them carefully before launching to ensure everything works the way you planned.
A Checklist for QAing Journeys
As much as I wish I could build a new journey every day, launching a new one happens just infrequently enough that I have to re-collect my processes every time to make sure I’ve properly reviewed everything. So to do “Future Jeanette” and my colleagues a favor—and to be able to confidently hit that little green “publish” button—I pulled together this checklist template to help QA a journey before it goes live.
Download the full PDF template before you QA your next Journey.
Journey Details
We have a QA template we use that we copy, fill out, and review for each item (in this case, journeys). At the top, we have all the key info about the journey, including:
- Journey link and name (so you know you’re all looking at the same thing!)
- Key details about how it works, such as audience and trigger, and when you plan to have it start running
- Link to any docs you used for content planning as a reference point
Triggers
Your trigger is what you use to make sure the right users enter your journey at the right time. Some key elements to consider:
- Did you test the trigger? How did you test it?
- Maximum entries settings
- Simultaneous entry settings
- Did you check the parameters on the trigger? (Including within a scheduled list, if that’s the type of trigger you’re using)
- End date sendings (or set to never if you don’t want it to end)
Journey Operations
- Are all your tiles connected?
- Have you set your exit rules to correctly manage your audience?
- Have you included any suppression lists in either (or both!) the trigger and/or as an exit rule?
Messages
- Are all messages from the content source-of-truth accounted for?
- Have you QAed them according to whatever your QA process is for each message?
- Does the message type fit the audience entering your journey?
- Have you turned on conversion tracking, Send Time Optimization (STO), and quiet hours where it makes sense to do so?
The Checklist, Explained
The list speaks for itself (and everyone will have different things they add or subtract over time), but there are certain items on the template I think it’s important to emphasize or explain further.
Reviewing the Journey
We make a point of having a person that’s not the builder review the journey, but recognize that option is not always available. If you’re a team of one, I’d suggest adding a step where you verbally walk through each piece of the journey for a friend, your pet, or another captive audience member.
Keeping Notes
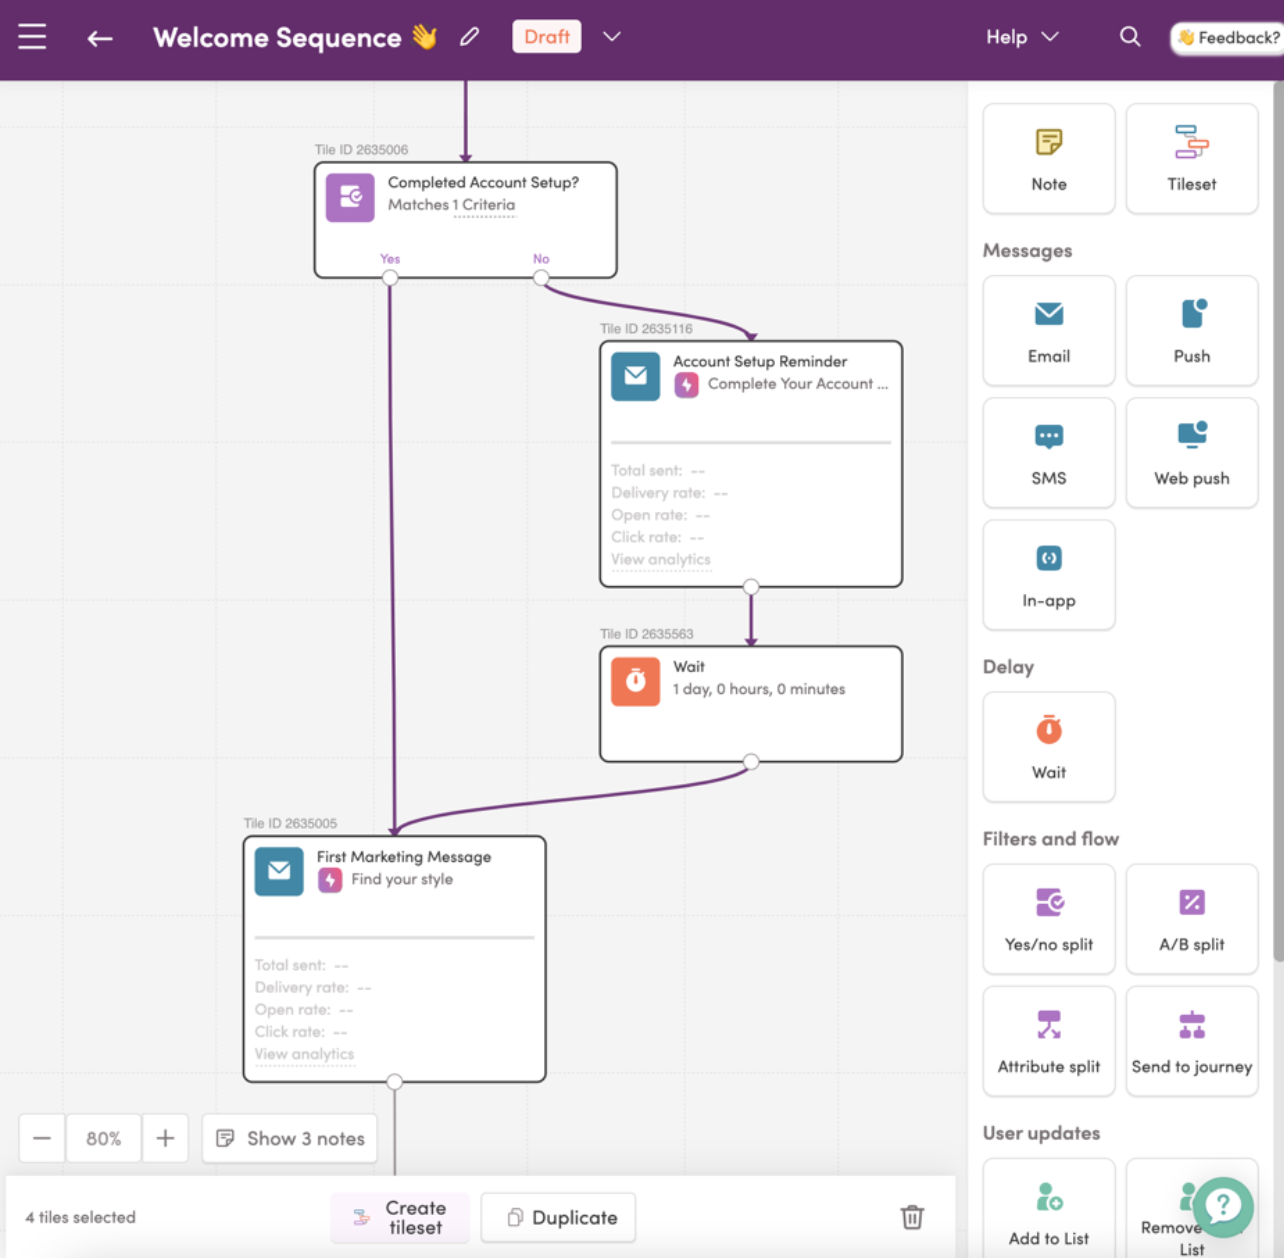
Labeling is key, as is our Notes feature. I often use one note to keep an abridged change log for the journey, and notes within specific tiles carry info about everything from quirks of the segmentation in a Yes/No tile, to ideas we’d like to test in a future email.


Example of a note that can be attached to a Tile within Iterable Studio.
With the Labels and other info provided in each tile, whoever is serving as the pre-launch QA reviewer should be able to understand your journey without you needing to verbally tell them exactly what each tile is doing. (Think of Notes and Labels as a favor to Future You. With them, you won’t have to open each and every tile looking for the one Yes/No segment to which you need to make a teensy adjustment.)
Considering Individual Campaigns
The message-related items in this checklist are focused on what you can manipulate on the journey level, without opening the campaign. Our email QA process is separate from this, but I cannot emphasize enough that each message (whether it’s email or another channel) should also go through a rigorous process that includes sending a proof to multiple people, who will look at it on multiple devices, and click all the links.
Come Back for Seconds
It’s easy to forget this invisible checklist item. Make sure you set time to go back and review your journey. This is important so you can check on how it’s performing and also see if there’s anyone going somewhere they shouldn’t. The first time you check up on it should be as soon as possible after you expect the first users to enter.
I can’t speak to our entire customer base, but personally I think the most common mistake I’ve made with journeys is accidentally blocking everyone from entering the journey!
Adding Experimentation
The lack of mention of experiments in this checklist is deliberate. You are free to choose your own adventure, but when launching something new, I prefer to keep it clean of experiments. That way, if something isn’t happening quite as expected, I’ll have an easier time troubleshooting without the additional “noise” of an experiment. The initial goal of journey building is to establish a performance baseline to help measure success against.
If you’re nervous about launching a journey, however, you can always add an A/B split tile just after the trigger, and adjust the percentage feeding into the actual journey before you turn it on.
Go one extra step to add a “Subscribe to List” tile to capture whoever doesn’t enter the rest of the journey, and now you’ve got a holdout group you can track performance against to show your journey’s impact!
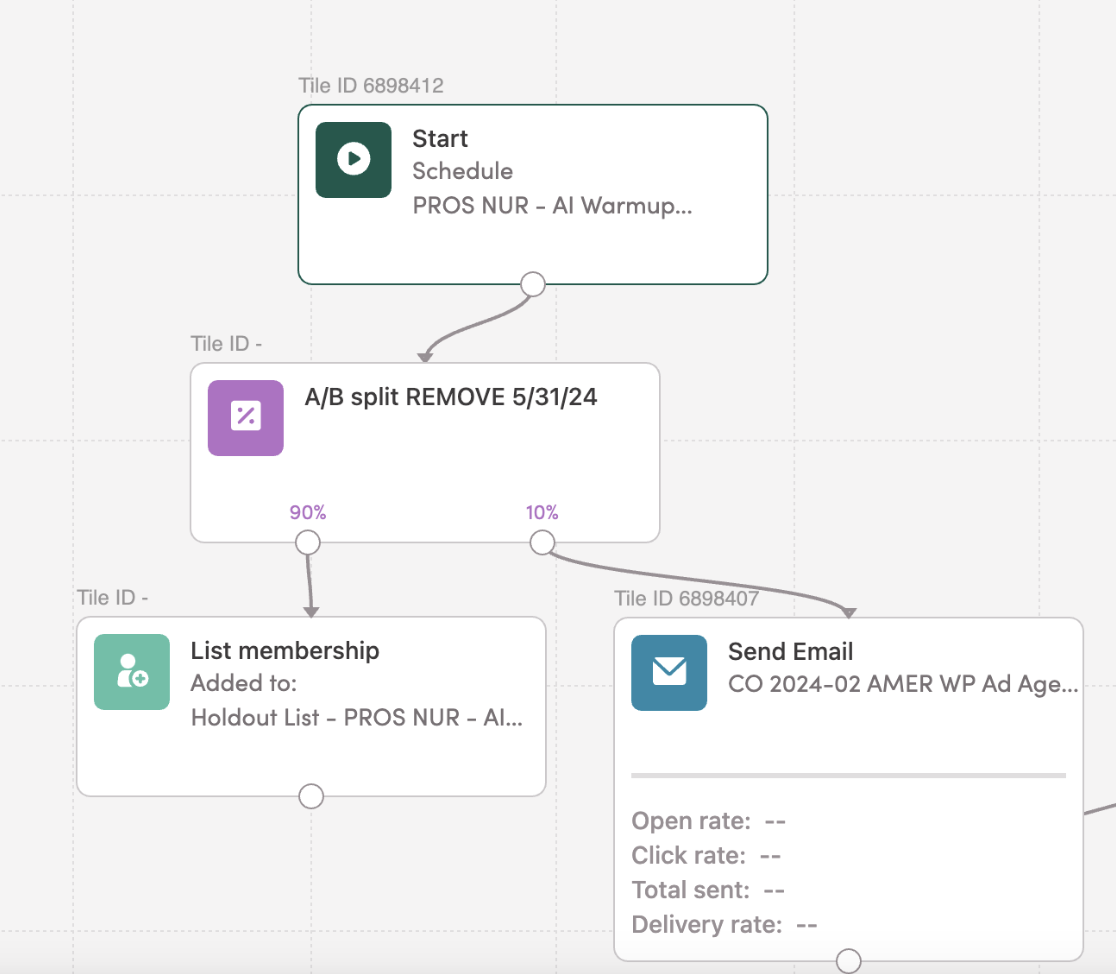
In the journey below, you can see I’ve adjusted the A/B split tile so that only 10% of the audience will be fed into the actual journey. The remaining 90% is tracked by getting added to a list. As you can see, this lowers the risk of launch while also providing a method for us to see the lift this journey can create with your audience. I’ve also left a clear note as to when the split tile should be removed so that the full audience can go through the entire journey.


Journey showing A/B split tile with 10% of the audience being fed into the actual journey.
Get Out of Your Own Way
Don’t let the perfect journey in your head prevent you from launching the good-enough journey in your project. Sure, maybe it would be better if you could get a different event built, or maybe you want to do fancier emails than you have right now. But if you have something that works, get it going so you can gather more info while you fine-tune…and, dare I say, iterate.
To learn more about Iterable Studio, reach out to your CSM. Or, if you’re not yet an Iterable user, schedule a custom demo today.


